
A vehicle wrap can completely transform a car, van or truck. It can give a business vehicle a professional appearance, turn an ordinary car into a moving advertisement, or simply provide a temporary change of style. But eventually, most wraps have to come off.
That’s where things can get a little tricky.
Removing vinyl may look like a simple matter of finding an edge and pulling. In reality, the age of the wrap, the quality of the material, weather exposure and condition of the underlying paint can all affect the process. Done carelessly, removal can leave behind adhesive, damage already-weakened paint or create an unnecessarily expensive repair.
The good news? With the right approach, most wraps can be removed carefully while keeping the original surface in good condition.
Why Wrap Removal Requires More Care Than Expected
Vinyl is designed to adhere firmly to a surface. That’s the whole point. It needs to stay in place through rain, heat, washing and everyday driving.
When it’s time to remove it, that strong bond becomes the challenge.
Older wraps can become brittle after years of sunlight and weather exposure. Instead of coming away in large, clean pieces, they may crack or tear into small sections. Fresh wraps may be easier to remove, but they still need to be handled properly.
The condition of the vehicle matters too. Original factory paint is generally more predictable than poorly repaired or repainted panels. If the paint underneath is already loose or damaged, removing adhesive-backed vinyl can expose those weaknesses.
Start With the Right Tools
You don’t necessarily need a huge collection of specialist equipment, but using appropriate tools makes a difference.
Plastic scrapers, heat equipment designed for vinyl removal and suitable adhesive removers are often useful. Metal blades should be approached with extreme caution because they can scratch paint surprisingly quickly.
The goal is to soften the adhesive enough that the vinyl releases without requiring excessive force.
Heat is particularly helpful. It can make older vinyl more flexible and reduce the amount of pulling needed. But too much heat can create its own problems, so patience matters.
There’s no prize for finishing first.
The Importance of Safe Vinyl Removal
When dealing with a valuable vehicle, safe, paint-friendly vinyl stripping should always be the priority rather than speed.
Start at an accessible corner and slowly lift the material. Pulling at a controlled angle can help keep the adhesive release more consistent. If the vinyl becomes difficult to remove, additional gentle heat may help.
Avoid yanking suddenly. Apart from making the material more likely to tear, aggressive pulling can put unnecessary stress on vulnerable paint or repaired panels.
If the wrap has been on the vehicle for a long time, work in smaller sections. It may take longer, but that’s usually better than creating damage that needs to be repaired afterward.
What Happens to the Adhesive?
Even when the vinyl itself comes off cleanly, adhesive residue may remain behind.
This isn’t necessarily a sign that something went wrong. Different vinyl products use different adhesive systems, and environmental exposure can change how easily residue releases.
A suitable adhesive remover can help loosen the remaining material. It should be compatible with the vehicle’s paint and tested in an inconspicuous area before being used more broadly.
Don’t attack stubborn residue with aggressive scraping. A little patience, the right product and a soft cloth are often far more effective.
Paint Condition Can Change the Outcome
One thing worth understanding is that vinyl removal doesn’t magically restore damaged paint.
If the vehicle had scratches, oxidation, faded paint or previous bodywork before the wrap was installed, those issues may still be present underneath.
In some cases, the paint protected by the wrap may actually look different from exposed areas because it has experienced less direct sunlight. That difference can be surprising when the graphics come off.
This is why inspecting the vehicle before removal is useful. Take photographs of existing damage and make a note of areas that already look questionable.
When Surface Restoration Is Needed
After the wrap and adhesive have been removed, the vehicle may need some additional attention.
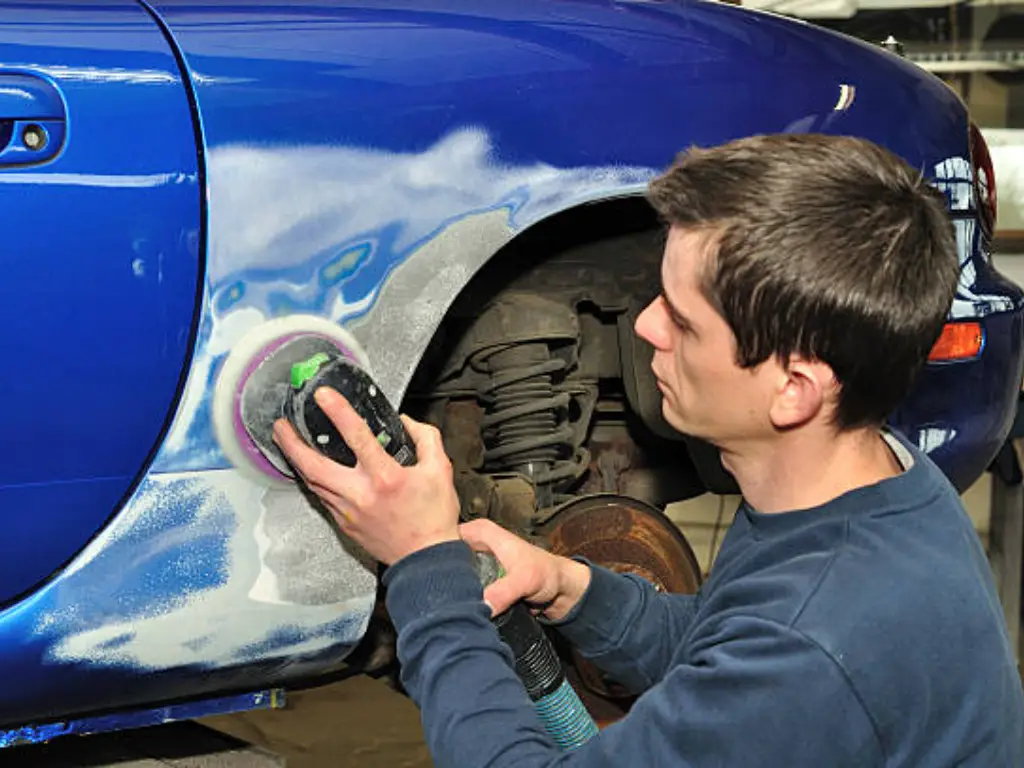
Surface restoration can involve cleaning, polishing or correcting minor imperfections so the original paint looks more consistent. The exact process depends on the condition of the surface.
Light adhesive marks might disappear with careful cleaning. More noticeable oxidation may require machine polishing. Deeper scratches or damaged paint could require professional bodywork.
It’s important not to confuse cosmetic correction with repainting. Sometimes a vehicle needs only a careful clean and polish to look dramatically better.
Don’t Forget the Edges and Difficult Areas
Flat doors are usually easier to work with than bumpers, mirrors, deep recesses and textured sections.
Edges can hold adhesive longer than large flat areas, particularly around trim pieces and panel gaps. These areas deserve extra attention during both vinyl removal and cleanup.
If a section refuses to release, stop and reassess rather than pulling harder.
Sometimes repositioning the heat or changing the angle of the pull is enough to solve the problem.
A Professional Approach Can Save Money
DIY removal is possible for some vehicle owners, especially when the wrap is relatively new and the underlying paint is in good condition.
However, professional help can make sense when the vehicle is expensive, the wrap is old, the vinyl is badly deteriorated or the paint condition is uncertain.
A professional has experience recognizing situations where continuing to pull may create more harm than good.
And that’s the key point: paying for careful removal may seem like an additional expense, but repairing damaged paint can cost considerably more.
Getting Back to a Showroom-Like Finish
Once the vinyl is gone and the surface has been cleaned, the vehicle can look surprisingly different.
A thorough wash, careful adhesive removal and appropriate paint correction may bring back a showroom shine without requiring a complete repaint.
This is also a good time to inspect the vehicle closely. Look for areas that may need touch-ups, polishing or further detailing.
If you’re planning to apply another wrap, a clean and properly prepared surface gives the next installation a much better starting point.
A Little Patience Goes a Long Way
Vehicle wrap removal isn’t glamorous work. There are no flashy before-and-after graphics while you’re halfway through peeling a stubborn panel, and some sections can test your patience.
Still, careful technique makes the process much easier.
Use suitable tools. Apply controlled heat. Work slowly. Protect the paint. Don’t rush stubborn adhesive. And know when a job has moved beyond a sensible DIY project.
The wrap may have been installed to change the vehicle’s appearance, but removing it is about preserving what lies underneath.
When handled properly, vinyl can come away without leaving the vehicle worse for wear. And with a little cleanup and restoration afterward, that old wrapped vehicle can once again look clean, polished and ready for whatever comes next.